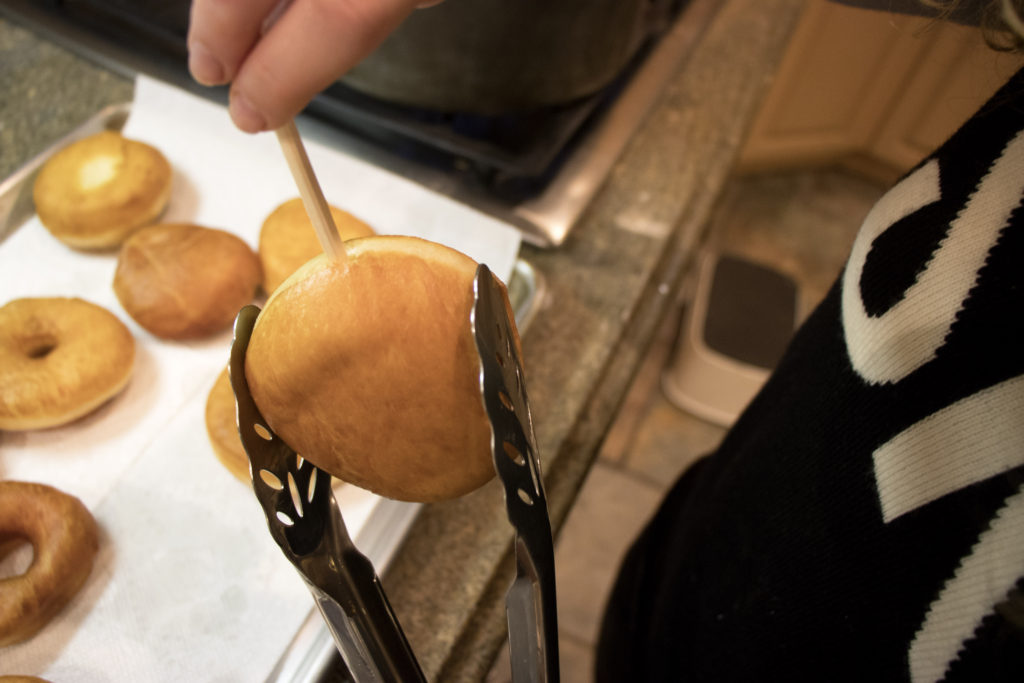
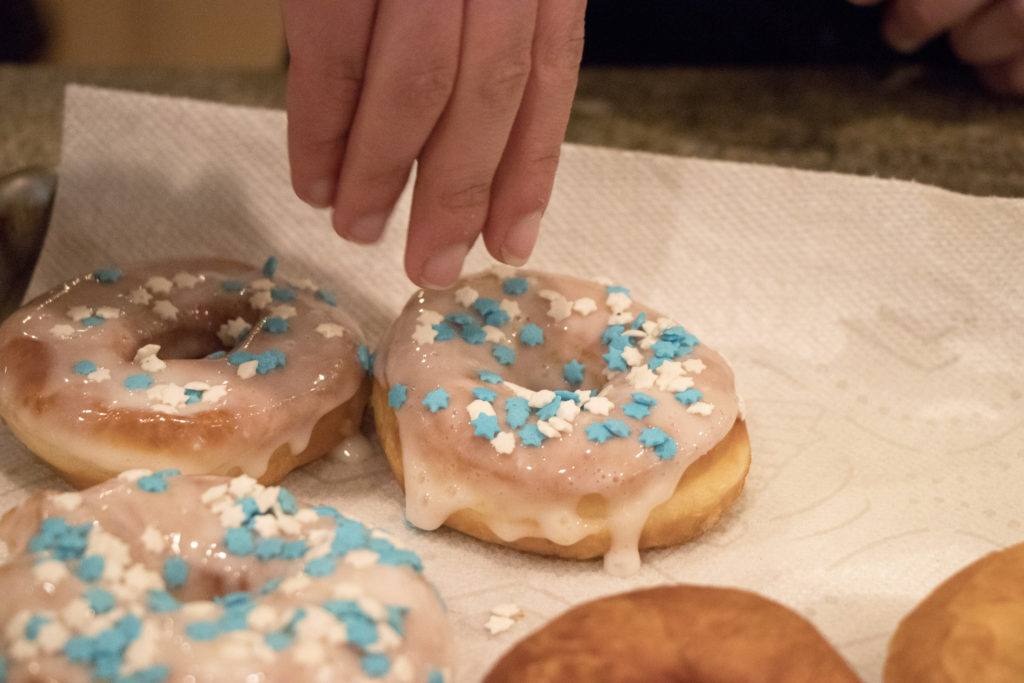
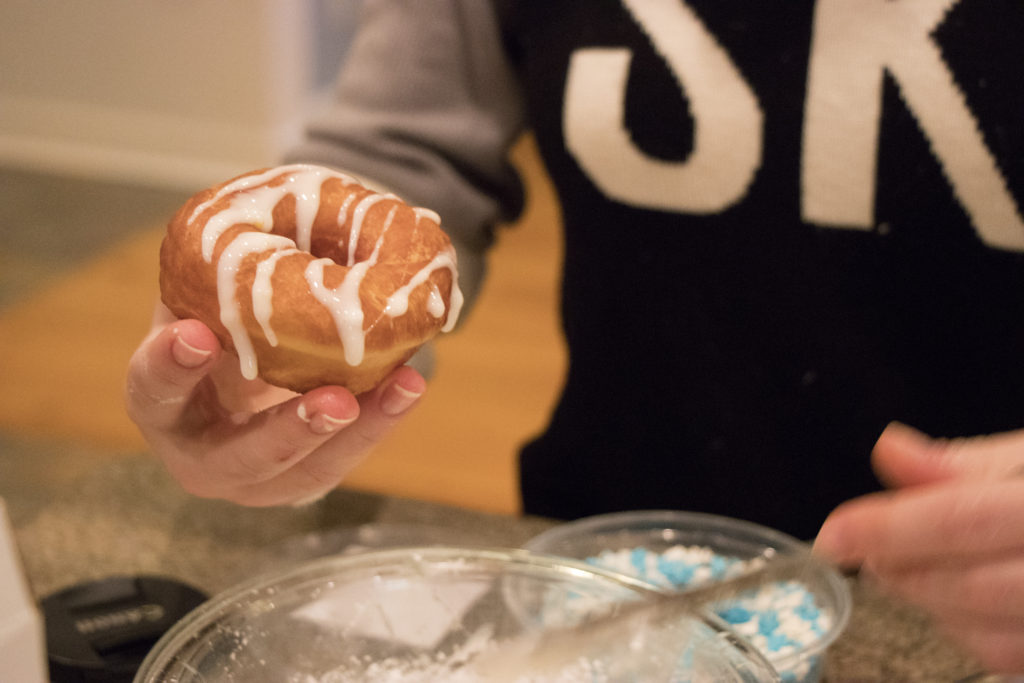
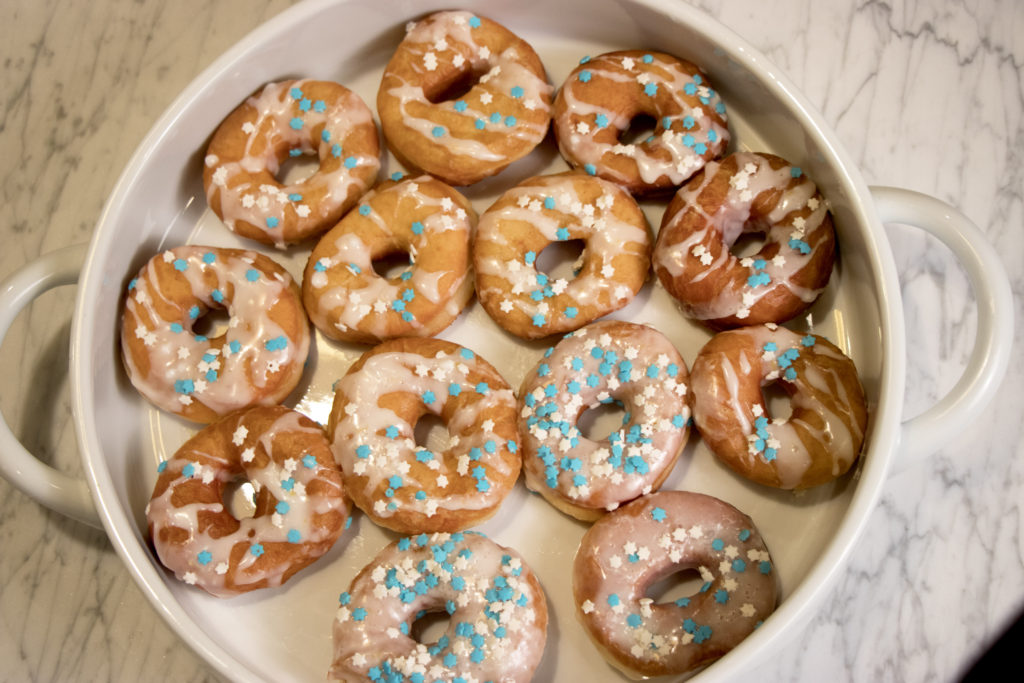
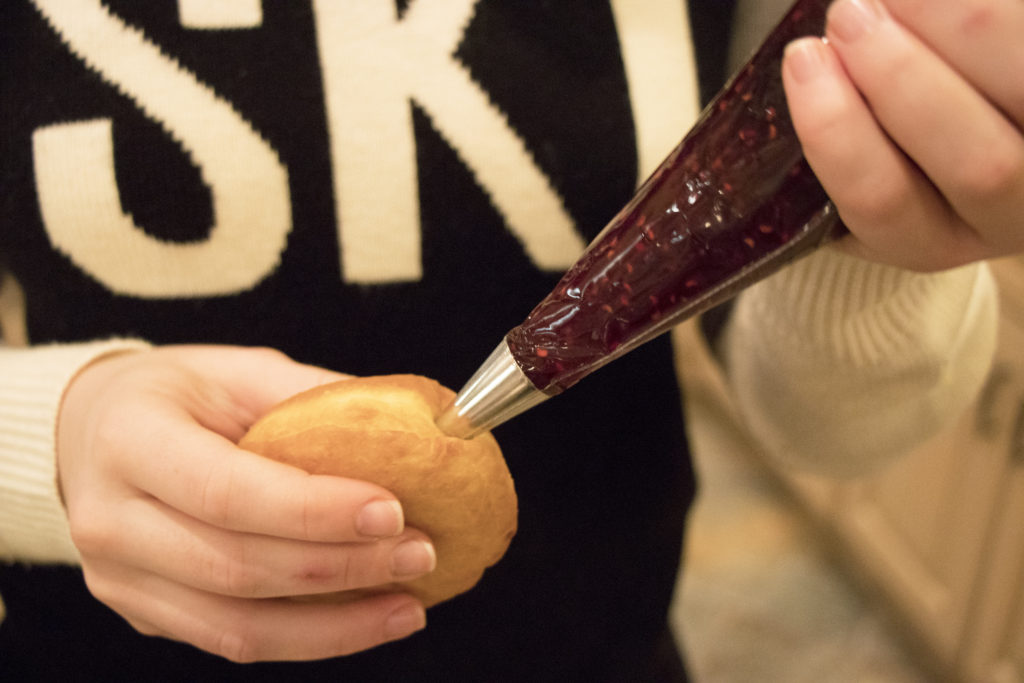
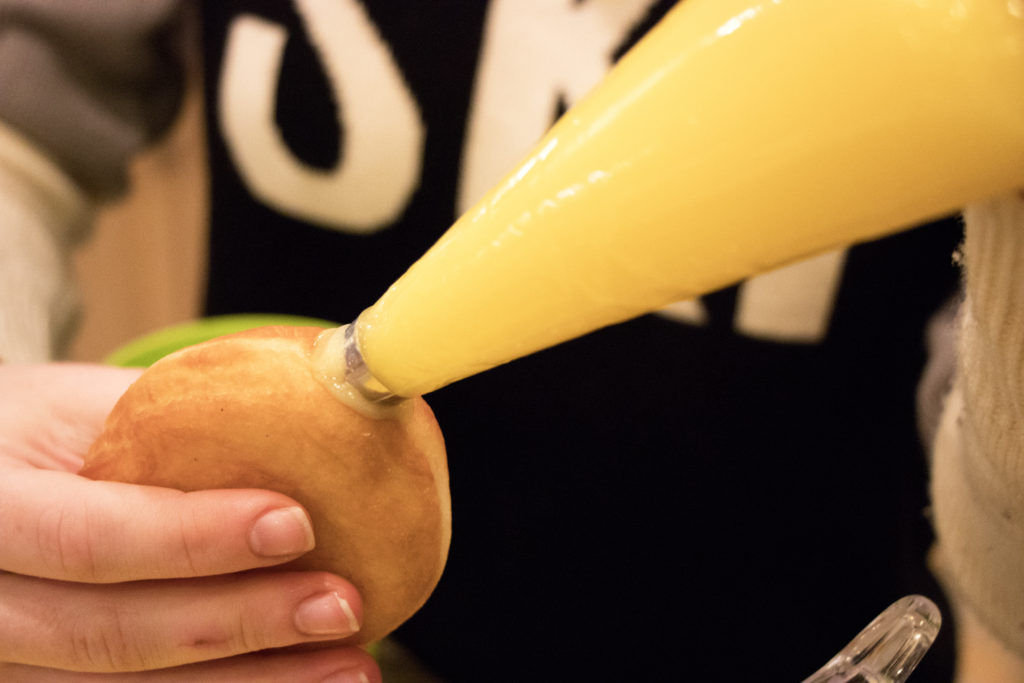
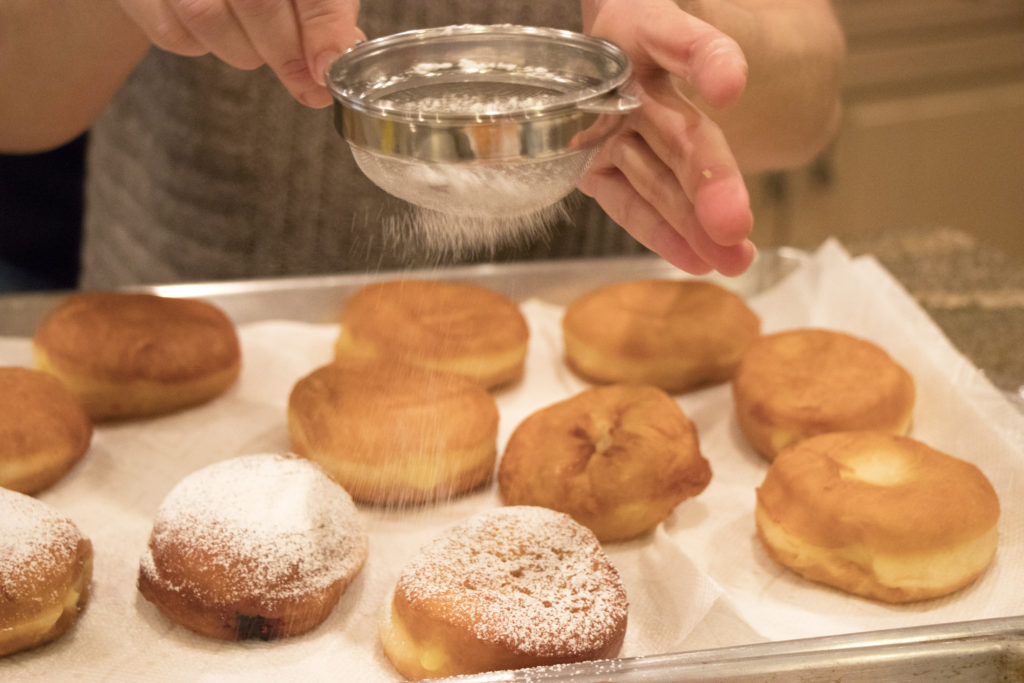
Go Nuts for Donuts

Glazed, filled, sugared, or frosted, these fried pastries don’t disappoint. 

When most people hear “yeast” or “fry” they get a bit intimidated and instead they bake when it comes to donuts. They may take some time, but my amazing fried donuts are not difficult to make and definitely not to difficult to eat (they taste like fluffy clouds). 

While I was researching some donut recipes, I found that in most of the recipes the donuts came out dense and full of unnecessary oil. In this recipe I intended to fix this problem, make them light and airy, and learn some science along the way. Here is my step by step guide to getting the perfect donuts with lots of helpful tips and explanations.

Before you start the recipe read through the preparation to ensure that everything is set up and ready for when you start.

Ingredients

3 3/4 teaspoon active dry yeast

1 1/2 cups of room temperature whole milk

3 cups of bread flour

3/4 cups all-purpose flour

1/4 cup sugar

1 1/2 teaspoons salt

1/8 teaspoon nutmeg

1 egg

1 teaspoon vanilla extract

6 tablespoons unsalted butter

Making the Dough:

1.First, measure out all the ingredients.

2. Next, make sure your milk is room temperature and slightly warm.

If your milk is still cold, microwave it for 30 seconds. The yeast won’t be able to activate in cold milk.

3. In a stand mixer with a paddle attachment, combine the warm milk and active dry yeast. 

What is “active dry yeast”?

Active dry yeast is probably the type of yeast you’re thinking of when yeast comes to mind. It’s a type of granular dry yeast. The yeast is a living organism that’s dormant until dissolved in a small amount of lukewarm liquid (about 110°F). It’s then added to the rest of the ingredients, where it will cause the dough to rise.

What is the difference between active dry yeast and instant yeast?

Active dry yeast has a larger granule and needs to be dissolved in water before using, while instant yeast has a more fine texture and can be mixed right into dry ingredients.

4. Blend on low for 2-3 minutes until you see small bubbles on the surface of the milk. 

Don’t see bubbles? Don’t worry. First check the expiration date. If your yeast has expired, it’s time to get new yeast and start over. If the yeast did not expire yet and bubbles are not appearing, check that your milk is room temperature. If everything is in check and you still don’t see bubbles after a few minutes, keep going on with the recipe, the bubbles might be too small to see. 

What are these “bubbles”? 

Time for a biology lesson. Refrigerators are dry and cold environments. Yeast can only thrive in warm and damp environments. When yeast is in our refrigerators, it is in a dormant state. This means that it is alive but kind of frozen in time. Once we put the yeast into the warm milk, it comes out of the dormant state and starts to eat food – a.k.a the sugar in the milk – to create energy. When the yeast produces energy for itself, it emits carbon dioxide gas and ethanol (alcohol) which creates the bubbles you see on the surface.

5. Sift together both flours, sugar, salt, and nutmeg into a separate bowl. Then slowly add them to the yeast mixture while the mixer is on slow until combined.

6. Add in the egg and vanilla and mix until combined.

7. Add in the butter and mix.

Make sure the butter is softened. Leave it out of the fridge or freezer for a few hours before starting. You don’t want chunks of butter in your donuts.

8. Work the dough for 5-8  minuets on medium speed until the dough pulls away from the bowl. The dough should feel smooth and a little sticky

Don’t over mix!!!! Once the dough pulls away from the bowl, turn the mixer off!

9. Turn the dough onto a surface and work it into a ball. Place the dough in a greased stainless steal bowl and cover it so it rises. Put the dough in a warm environment or put it in the oven on the “Proof” setting at 110 degrees F for 30 minuets until it doubles in size. 

What is happening to my dough? 

Going back to our previous biology lesson: when the yeast changes the sugar in the dough into carbon dioxide gas and ethanol (alcohol), the gas, trapped in the dough, makes the dough rise. The alcohol evaporates during baking.

10. Turn the dough onto a lightly floured surface and lightly flour the top. Roll the dough until it is a 3/4 thick.

If it’s too much dough to handle at once, you can do it in 2 batches by ripping the dough in half.

12. Cut out your donuts with a circle cutter.

Cut out as many donuts as possible in the first roll out without re-rolling scraps. Re-rolling results in dense and chewy donuts. Don’t re-roll scraps more than one time.

Use the back of a piping tip to cut out a hole in the center. If you want to fill your donuts, don’t cut the hole in the middle.

13. Congrats, you made the perfect dough! Now time for frying. While your oil heats up, let the donuts rise just a little bit in a warm environment. 

Frying:

1.In a large pot, heat up 2 inches of canola oil. 

For this I STRONGLY suggest you go and get yourself a thermometer. You want to make sure that the oil stays at the same temperature (360 degrees F) the entire time. Once you get your oil to the right temperature and you start frying the donuts, the temperature will drop. You need to make sure that you turn up the heat when it drops so that the oil is still at 360 F.


2. Once you have your oil and thermometer, heat the oil on high heat until it reaches 360 F. 

Why 360? 

I tested different temperatures and 360 came out best. If the temperature is higher than that, the outside will cook too fast and brown before the middle is cooked. If the temperature is too low, it will take too much time in the oil to cook and soak up a lot of unnecessary oil.

3. While waiting for your oil to heat up, line a baking sheet with paper towels and set it on the side of the pot of oil.

4. When the oil is ready, test it with one donut. Cook it in the oil for 30 seconds, flip the donut with tongs, and cook the second side for another 30 seconds. If the donut comes out how you like it, fry the rest, not more then 5 at a time, for 30 seconds per side making sure not to crowd the pot. 

5. When the donuts come out of the oil, let some excess oil drip off before placing them on the paper towel lined baking sheet. 

6. If you are planning to fill your donut, a few seconds after the donuts come out of the oil make a hole going through the side of the donuts with a chopstick or a piping tip to make a path for your filling. 

If you try to make the hole when the donut cools down, the chopstick or piping tip will crush the donut rather than slip right through it. 

Fillings/Toppings:

You can fill or top your donuts with whatever glaze, jelly, custard, fruit, candy, cereal etc. you desire but here are some of my classic favorites.

For donuts with holes I drizzled a vanilla glaze and added some sprinkles.

Vanilla Glaze

2 cups confectioners’ sugar

3 tablespoons unsalted butter, melted and slightly cooled

3-4 tablespoons heavy cream

1 teaspoon pure vanilla extract

pinch salt

 In a medium bowl, whisk the glaze ingredients together until completely smooth. Add more cream to thin or more confectioners’ sugar to thicken, if desired. Add food coloring if desired. Dip each donut into the glaze or drizzle it on.

For donuts without holes, I filled some with a mixed berry preserves, and another with instant vanilla pudding. We’ll save making vanilla custard from scratch for another time. I sifted some confectioners’ sugar on them to top them off. 

Now that you are all expert donut makers, make these for your family, friends, yourself, and everyone you know!

Happy Baking! And keep muffin around the kitchen 😉. 

One thought on “Go Nuts for Donuts

Comments are closed.
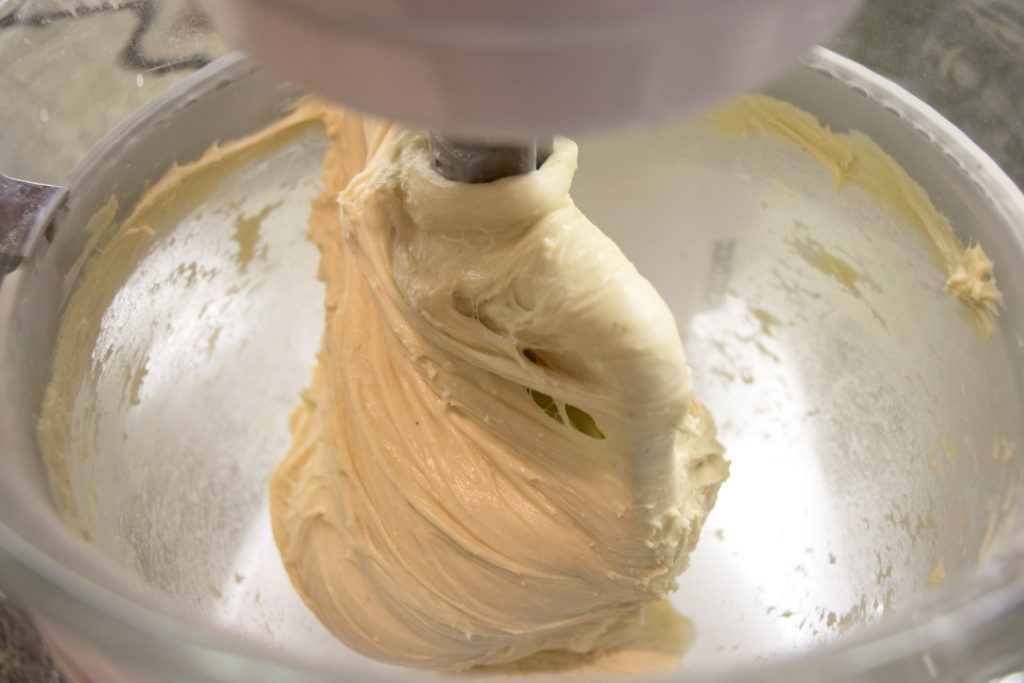
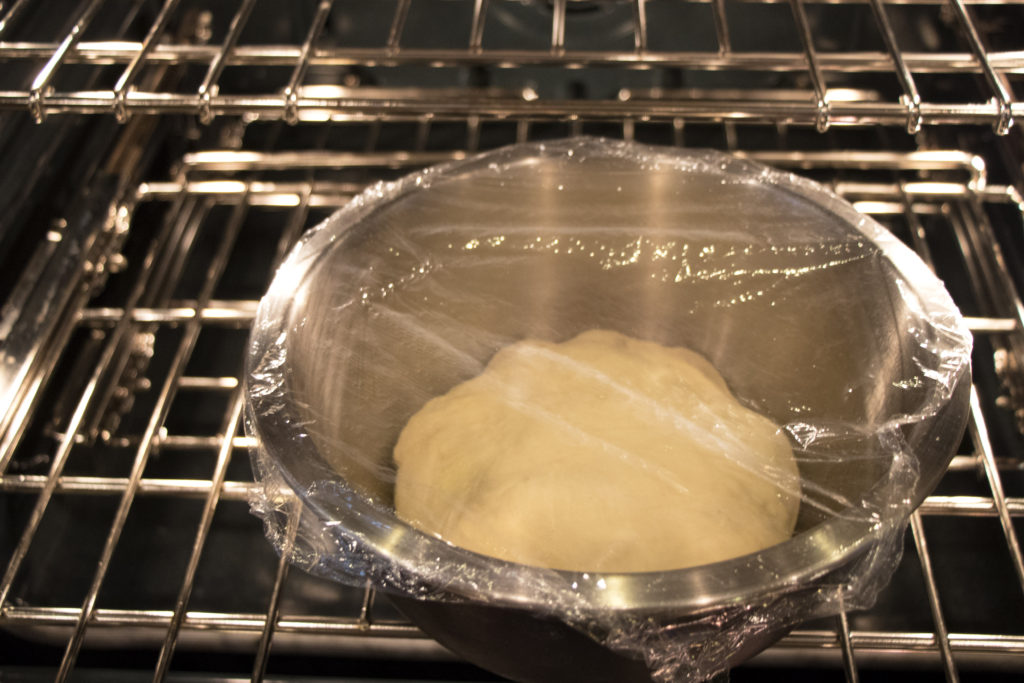
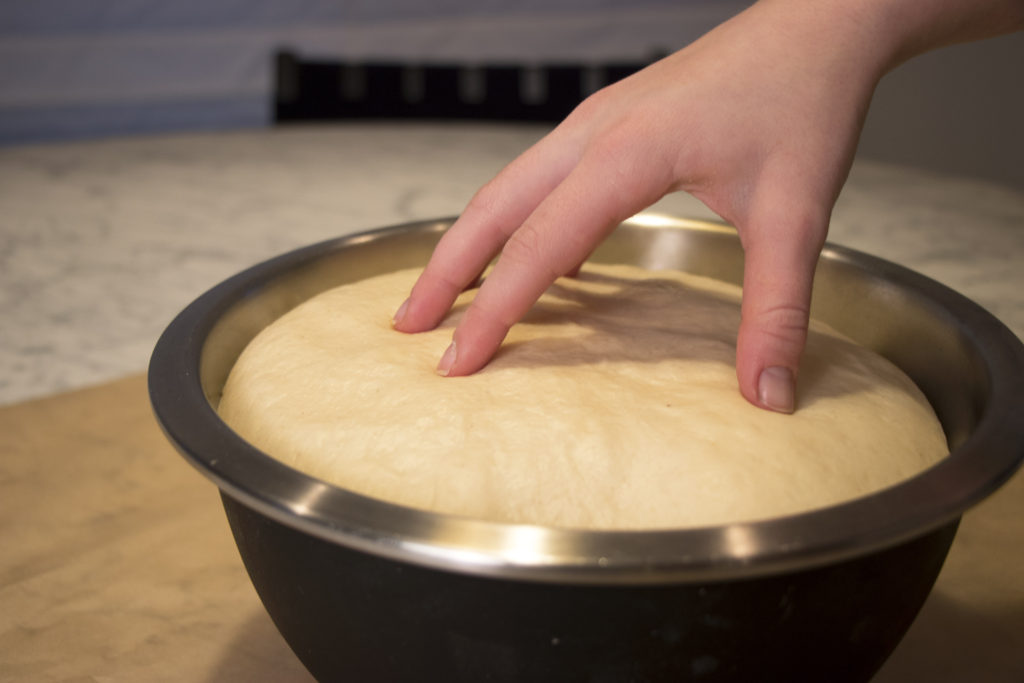
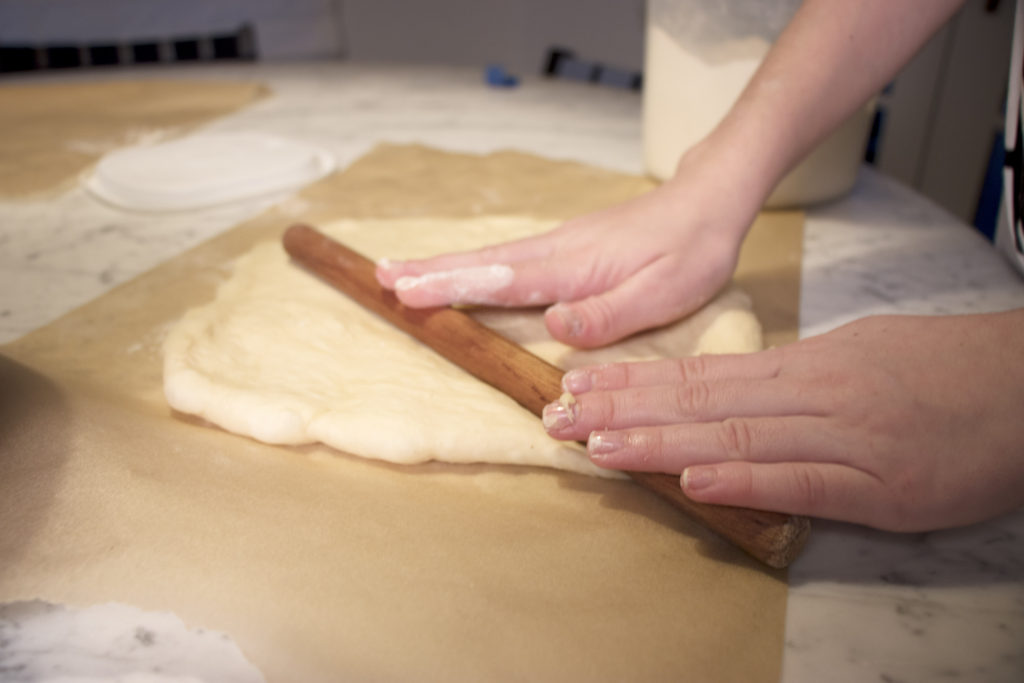
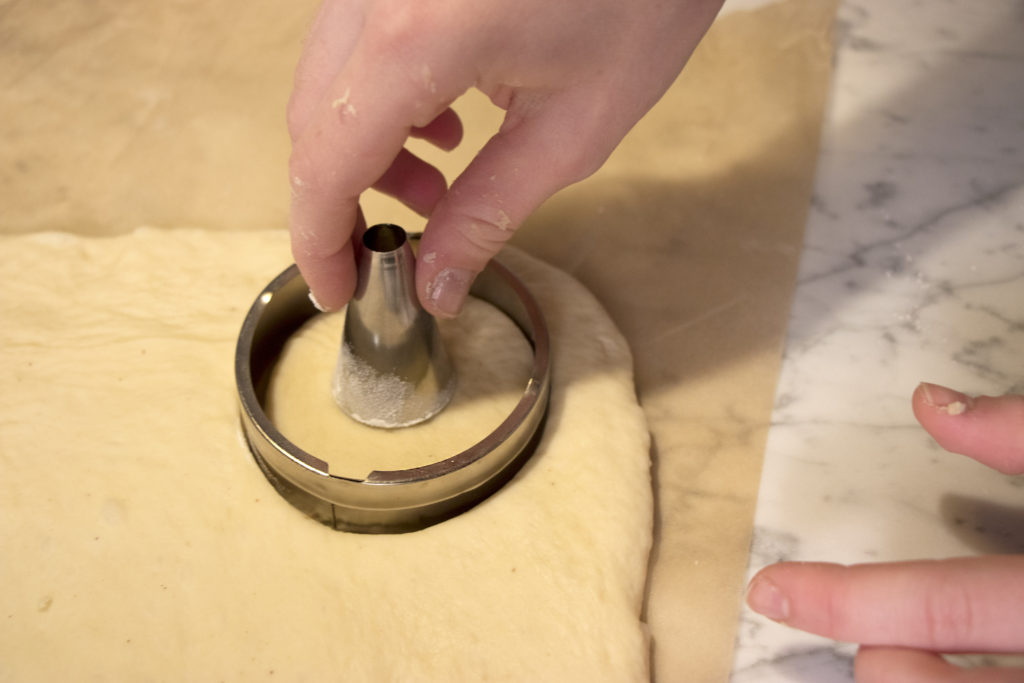
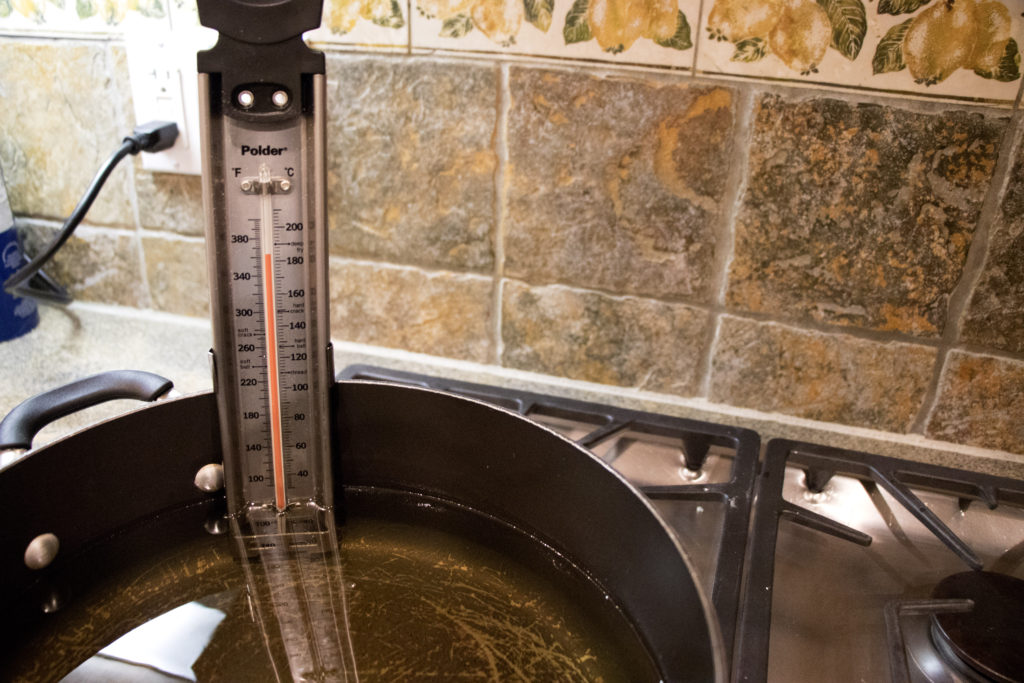
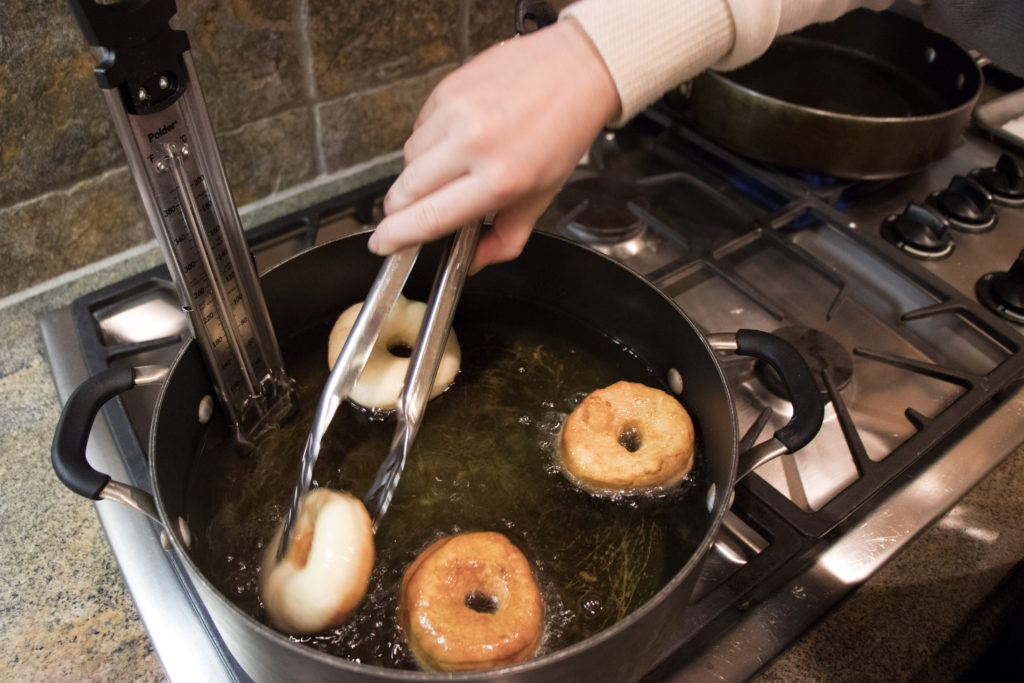
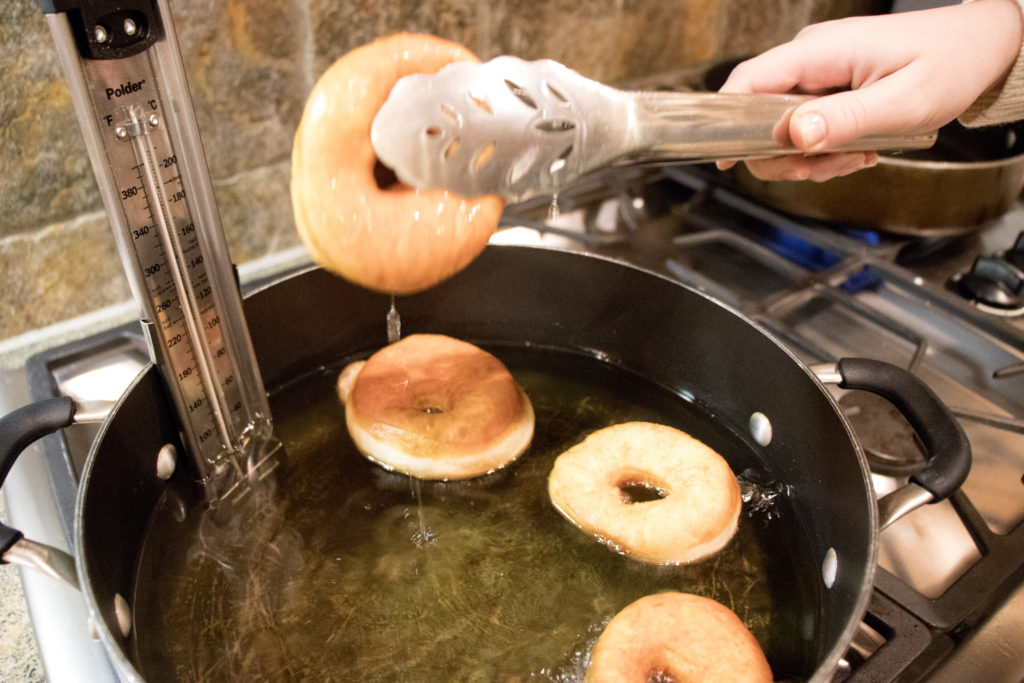